|
|
Post by Chris Muncy on Oct 23, 2010 9:07:02 GMT -5
So I recieved my EvalBot last night and I thought I'd give a quick pictoral on the assembly. Here's the box as I received it: 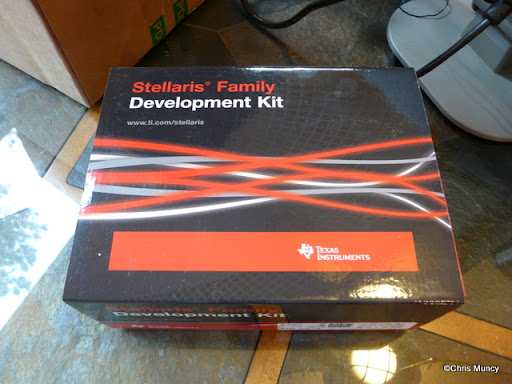 There were 2 boxes in the set: 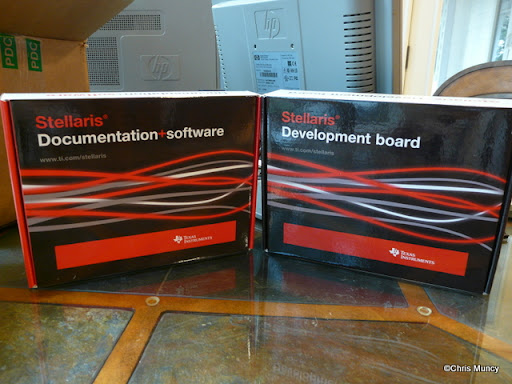 One box had the misc hardware and destruction manual while the other held the main populated circuit board: 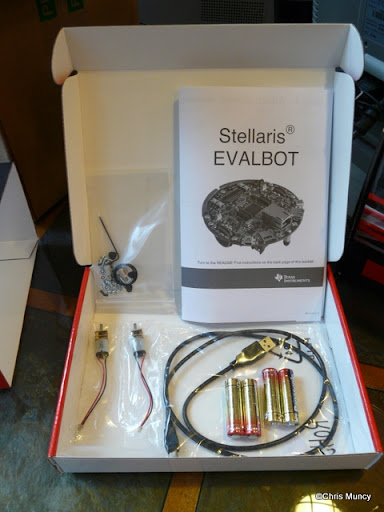 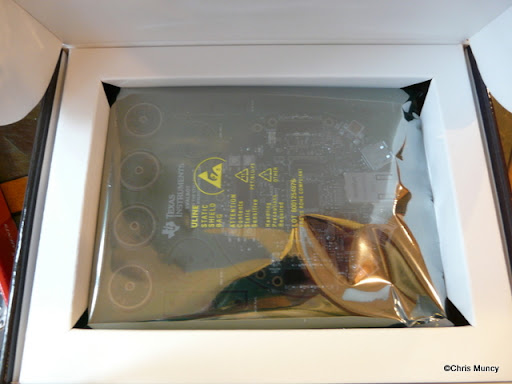 Pictures of front and back of populated circuit board: 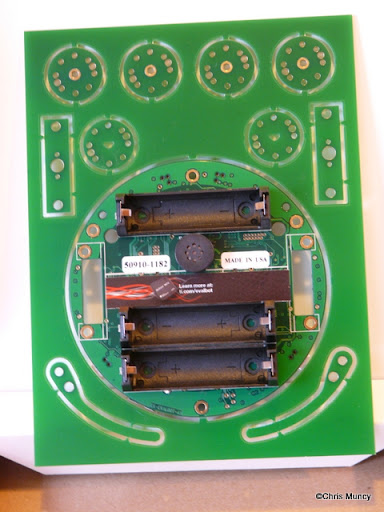 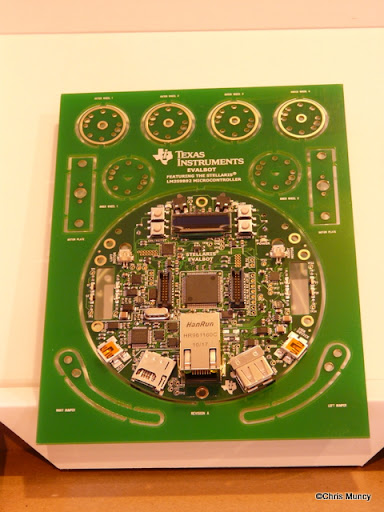 After all of the parts were removed from the circuit board: 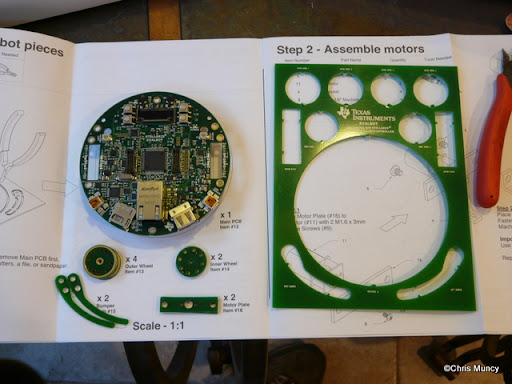 Assembling the drive motors: 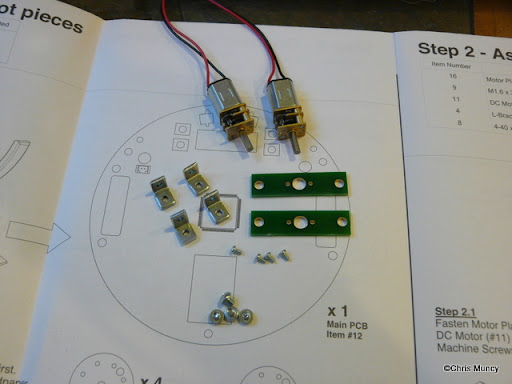 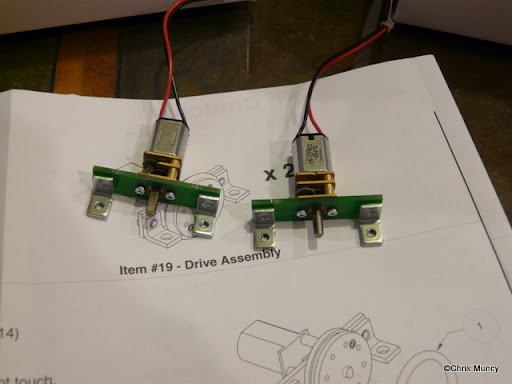 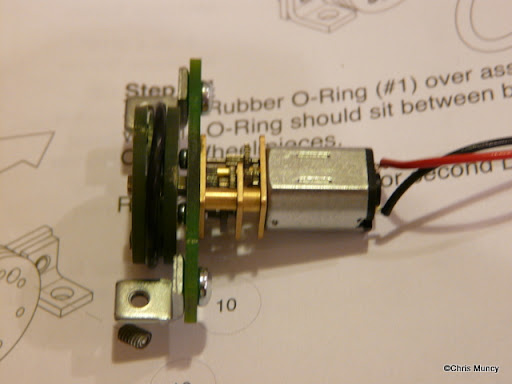 It's important to note here that the wheels are 3 circuit board layers thick and the holes must line up so that the optical sensors on the main board can pass light through them to keep count of rotations. Also, there are 2 set screws that are holding the 3 boards together. I recommend getting some channel locks or vise grips and holding the alignment of the wheels together so that when you insert the set screw the boards do not separate. Sorry I didn't get any better pictures of that. 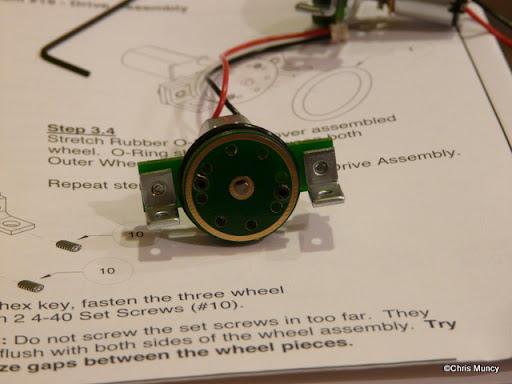 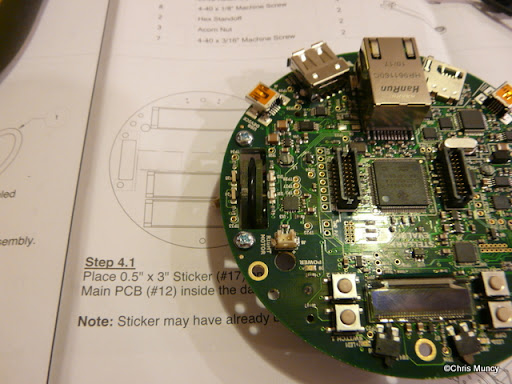 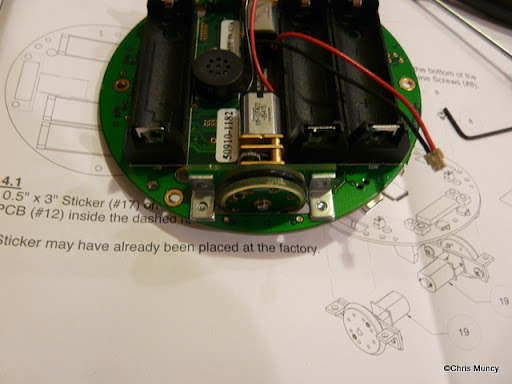 As it sits completed: 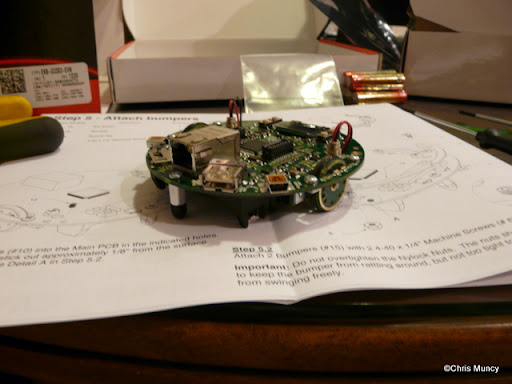 And powered up: 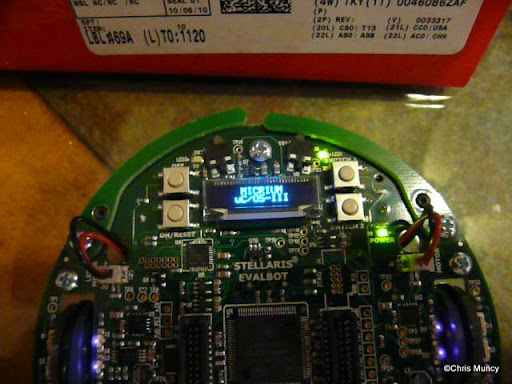 |
|
kemp
New Member

Posts: 24
|
Post by kemp on Oct 23, 2010 13:57:14 GMT -5
Thanks for the update Chris, it's looking good  |
|
|
|
Post by Chris Muncy on Oct 23, 2010 16:19:46 GMT -5
Thanks! Now I need to set aside some time to look at the programming. Also: HI HackaDay!!!  |
|
|
|
Post by Parker Reed on Oct 23, 2010 17:02:28 GMT -5
Nice tutorial! Still waiting for mine.
|
|
|
|
Post by shadyman on Oct 24, 2010 0:06:03 GMT -5
|
|
|
|
Post by Chris Muncy on Oct 24, 2010 8:44:57 GMT -5
It's a KM-12FN20.
But looking at my bot and that pic it appears the gears are in the exact same place.
|
|
|
|
Post by Chris Muncy on Oct 24, 2010 10:17:49 GMT -5
Word to the wise:
If you have pets, don't let your EvalBot run over a fur ball.
Fur+tiny gears=very frustrated bot owner.
|
|
|
|
Post by jackthevendicator on Oct 24, 2010 11:07:30 GMT -5
|
|
|
|
Post by Chris Muncy on Oct 24, 2010 11:21:40 GMT -5
The 3 ratios mentioned are the 3 stages of rpm reduction for the gear set. There is no way to actually change ratios.
|
|
|
|
Post by shadyman on Oct 24, 2010 21:26:58 GMT -5
Word to the wise: If you have pets, don't let your EvalBot run over a fur ball. Also, don't let your furball run over your Evalbot. ;D |
|
|
|
Post by Chris Muncy on Oct 25, 2010 8:22:15 GMT -5
My dogs and cats have no interest in it. I guess because it moves too slow.
|
|


